|

Other aspects of the LOCKSHOP
module are listed and linked
in the column to the left.
The ADD/REMOVE MASTERS feature is a powerful tool
and can be used in a number of ways. This section of the program was
initially created to allow our customers the option of breaking our complete,
internally generated masterkey systems into sections. The primary goal was
to allow smaller systems to be used without using another masterkey keys system,
or keyway in which there may be unintentional cross-keying.
We will cover three basic uses of this
feature. You can click on any of those uses to understand that specific
application use.
-
Systems Generated from inside
KeyNET.
-
Systems Imported into KeyNET.
-
Systems Created Manually.
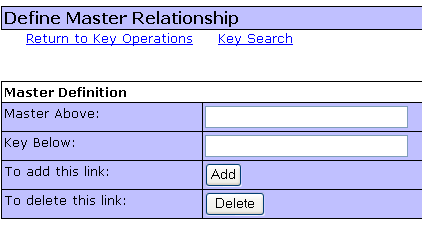
The General screen will look something
like this:
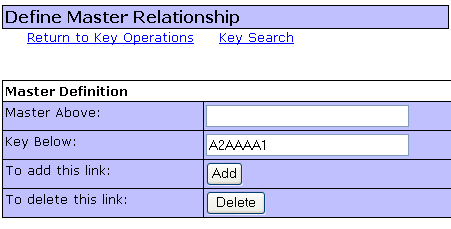
The process is simple and straight forward. Simply enter
the KeyID directly above the Key ID you are working with and the KeyID you want
to address; and link them together, or disassociate them.
Systems Generated from inside
KeyNET.
In all internally generated masterkeys
systems, except the Custom generation, will create complete masterkey systems.
They cannot be expanded any further, using that specific criteria. They
can, however, be made into smaller systems, or divided to create systems which
will not cross with each other. This is a powerful tool for Universities
and larger institutions.
For example...A university has decided
that it will allow SKD keys to exist, but under special circumstances where
specific people would have emergency entry power. In this case, the
university has decided to create a
system of SKD keys under an SKD master from one of the legs within the
hierarchy of a complete KeyNET generated system.
Additionally, they have found that the
KeyNET generated system is larger than is needed to meet their needs at this
time, and they would like to build some flexibility into the system to provide
options should a high level key be lost and they find it necessary to rekey.
With this information, a new masterkey
system was fully generated in KeyNET. We called it the "D" system.
Special depths were used, and a special cut information which allows us to use
every Changekey, and there are no keys that exceed the MAC.
The first set is to create 4 systems from
one, thus retaining Great, Great Grand Masterkey systems which will not cross
with each other. They will be known as the DA, DB, DC and DD systems.
Before starting the process, the Key Operations would look like this:
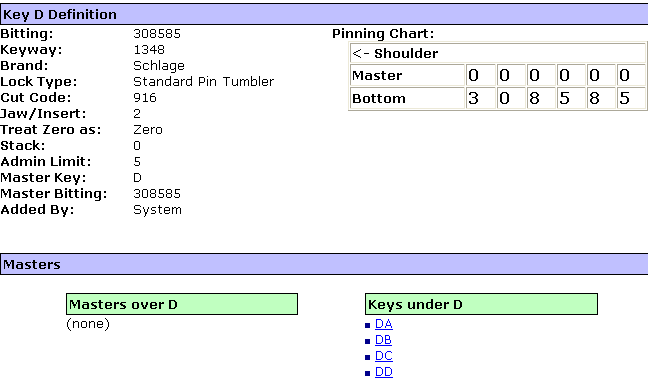
Then we disassociate each of the "Keys under the D" with the D
KeyID. We start by disassociating the D KeyID with the DA KeyID.
Then click the [Delete] button.
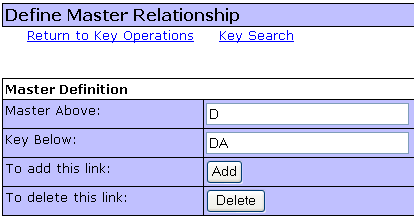
We do the same for the DB, DC and DD KeyIDs.
When we are finished, the Master association for the D KeyID
would look like this.

We now have four systems, DA, DB, DC, and DD...each separate and
distinct systems which will not cross with each other. Now, all of the
campus will be keyed under the DA system. Should that KeyID ever become
compromised, the lockshop can use the DB, DC, or DD systems to rekey the campus.
Now lets deal with
the SKD issue. In an effort to insure that there will be no cross
keying and that keys from one section cannot be cut down to be used in another
section, we decided to pick a subsection of the DA Great, Great Grand Master
system to do this. We decided to use the DAA section which is 256
Changekeys, and contains the DAAA, DAAB, DAAC and DAAD page masters .
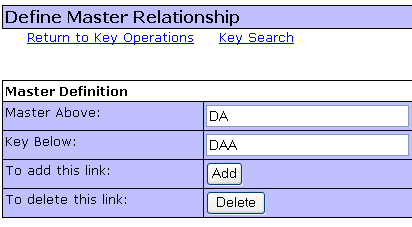
After filling in the appropriate information, simply click on
the [Delete] button and the DAA section has been isolated from the rest of the
system(s).
Remember, even when the rest of the campus is changed to
the DB, DC or DD systems it is not necessary to change the DAA as the SKD
master, it has already been isolated by the process above.
Systems Imported into KeyNET.
Spectrum Group is often asked to import
bitting information from other software programs during an upgrade conversion
from other software programs. While other programs to not typically
contain the hierarchy links used in KeyNET (at least we haven't found any that
do). It is possible to develop those hierarchy relationships with the
ADD/REMOVE MASTERS feature. After importing each of the pages of keying
information, those pages need to be linked together in the same hierarchy in
which they were built at the factory. You would then enter the page master
as the "Key Below" and the relational master as the Master Above", and click on
the [Add] button. Continue adding links until you have created your own
KeyNET hierarchy which your lock manufacturer was not able to provide.
Systems Created Manually.
From time to time our customers want to enter their data
manually. Often, this is for very special circumstances or special
configurations of keys known only to the customer. In this case the
customer simply enters all of the keys into the system as individual keys, and
then proceeds to create the hierarchy from scratch. This is easily done.
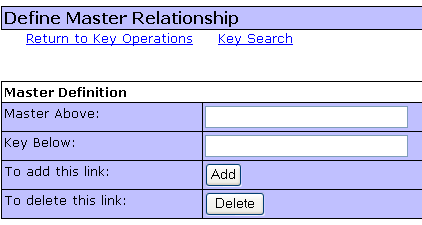
Simply create the relationship between each key, by entering the individual keys
and the key that is the direct Master Above the key. When you are finished
entering these relational linking KeyIDs, KeyNET will recognize the system and
its hierarchy as you have set it up.
|